Pool Tile Replacement: A Comprehensive Guide to Renovating Your Swimming Pool
When it comes to enhancing the aesthetics and functionality of your swimming pool, pool tile replacement is a pivotal consideration. Over time, tiles can wear out, lose their luster, or become damaged, prompting the need for an upgrade. This article delves into everything you need to know about pool tile replacement, from selecting the right tiles to ensuring a successful installation.
1. Why Consider Pool Tile Replacement?
Choosing to replace the tiles in your swimming pool comes with several noteworthy benefits:
- Aesthetic Appeal: Fresh tiles can dramatically enhance the overall look of your pool area, making it more inviting.
- Increased Value: Renovated pools can significantly increase your property value.
- Improved Safety: Smooth, well-maintained tiles can reduce the risk of slips and falls.
- Longevity: Higher-quality tiles can withstand weather and pool chemicals better, prolonging their lifespan.
2. Recognizing the Signs That Your Pool Needs Tile Replacement
It's essential to be aware of certain indicators that signal the need for a pool tile replacement.
- Cracks and Chips: Visible damage to tiles compromises both aesthetics and safety.
- Fading Colors: Significant color loss indicates deterioration due to sun exposure and chlorine.
- Mold and Mildew Growth: Tiles in corners can collect moisture leading to unsightly and unhealthy growths.
- Loose or Missing Tiles: This can lead to further damage if not addressed promptly.
3. Choosing the Right Tiles for Your Pool
Selecting the right tiles is crucial in ensuring both durability and beauty. Here’s what you should consider:
3.1. Material Options
There are various materials to consider:
- Porcelain Tiles: Known for their durability and water resistance, these tiles are an excellent choice for pools.
- Glass Tiles: These tiles offer a unique aesthetic with brilliant colors and textures, yet can be more expensive.
- Natural Stone Tiles: Beautiful but may require more maintenance; ideal for a luxurious look.
- Ceramic Tiles: Versatile and available in numerous styles, they can be an affordable option for homeowners.
3.2. Color and Finish
The color scheme and finish of your tiles can influence the ambiance of your pool. Dark tiles can make the water appear deeper, while light tiles can create a brighter, more inviting look.
4. Professional vs. DIY Pool Tile Replacement
Deciding between hiring a professional or doing it yourself is a pivotal decision. Let’s explore both options:
4.1. Hiring Professionals
Engaging a professional service like poolrenovation.com ensures that the job is done correctly. Here are the advantages:
- Expert Installation: Professionals have the expertise to ensure your tiles are installed perfectly.
- Quality Assurance: They often guarantee their work, giving you peace of mind.
- Time-Saving: Professionals can complete the job quickly, minimizing disruption to your pool usage.
4.2. DIY Approach
If you're handy and enjoy home improvement projects, DIY can be a rewarding choice. Here are some benefits:
- Cost-Effective: You save money on labor costs.
- Personal Satisfaction: Completing the project yourself can be a fulfilling experience.
- Customization: You have complete control over the design and layout.
5. The Process of Pool Tile Replacement
Whether you hire professionals or opt for the DIY route, the pool tile replacement process generally involves the following steps:
5.1. Preparation
Before beginning the project, ensure your pool is thoroughly cleaned and drained. Removing your old tiles will require careful planning to avoid damage to the surrounding structures.
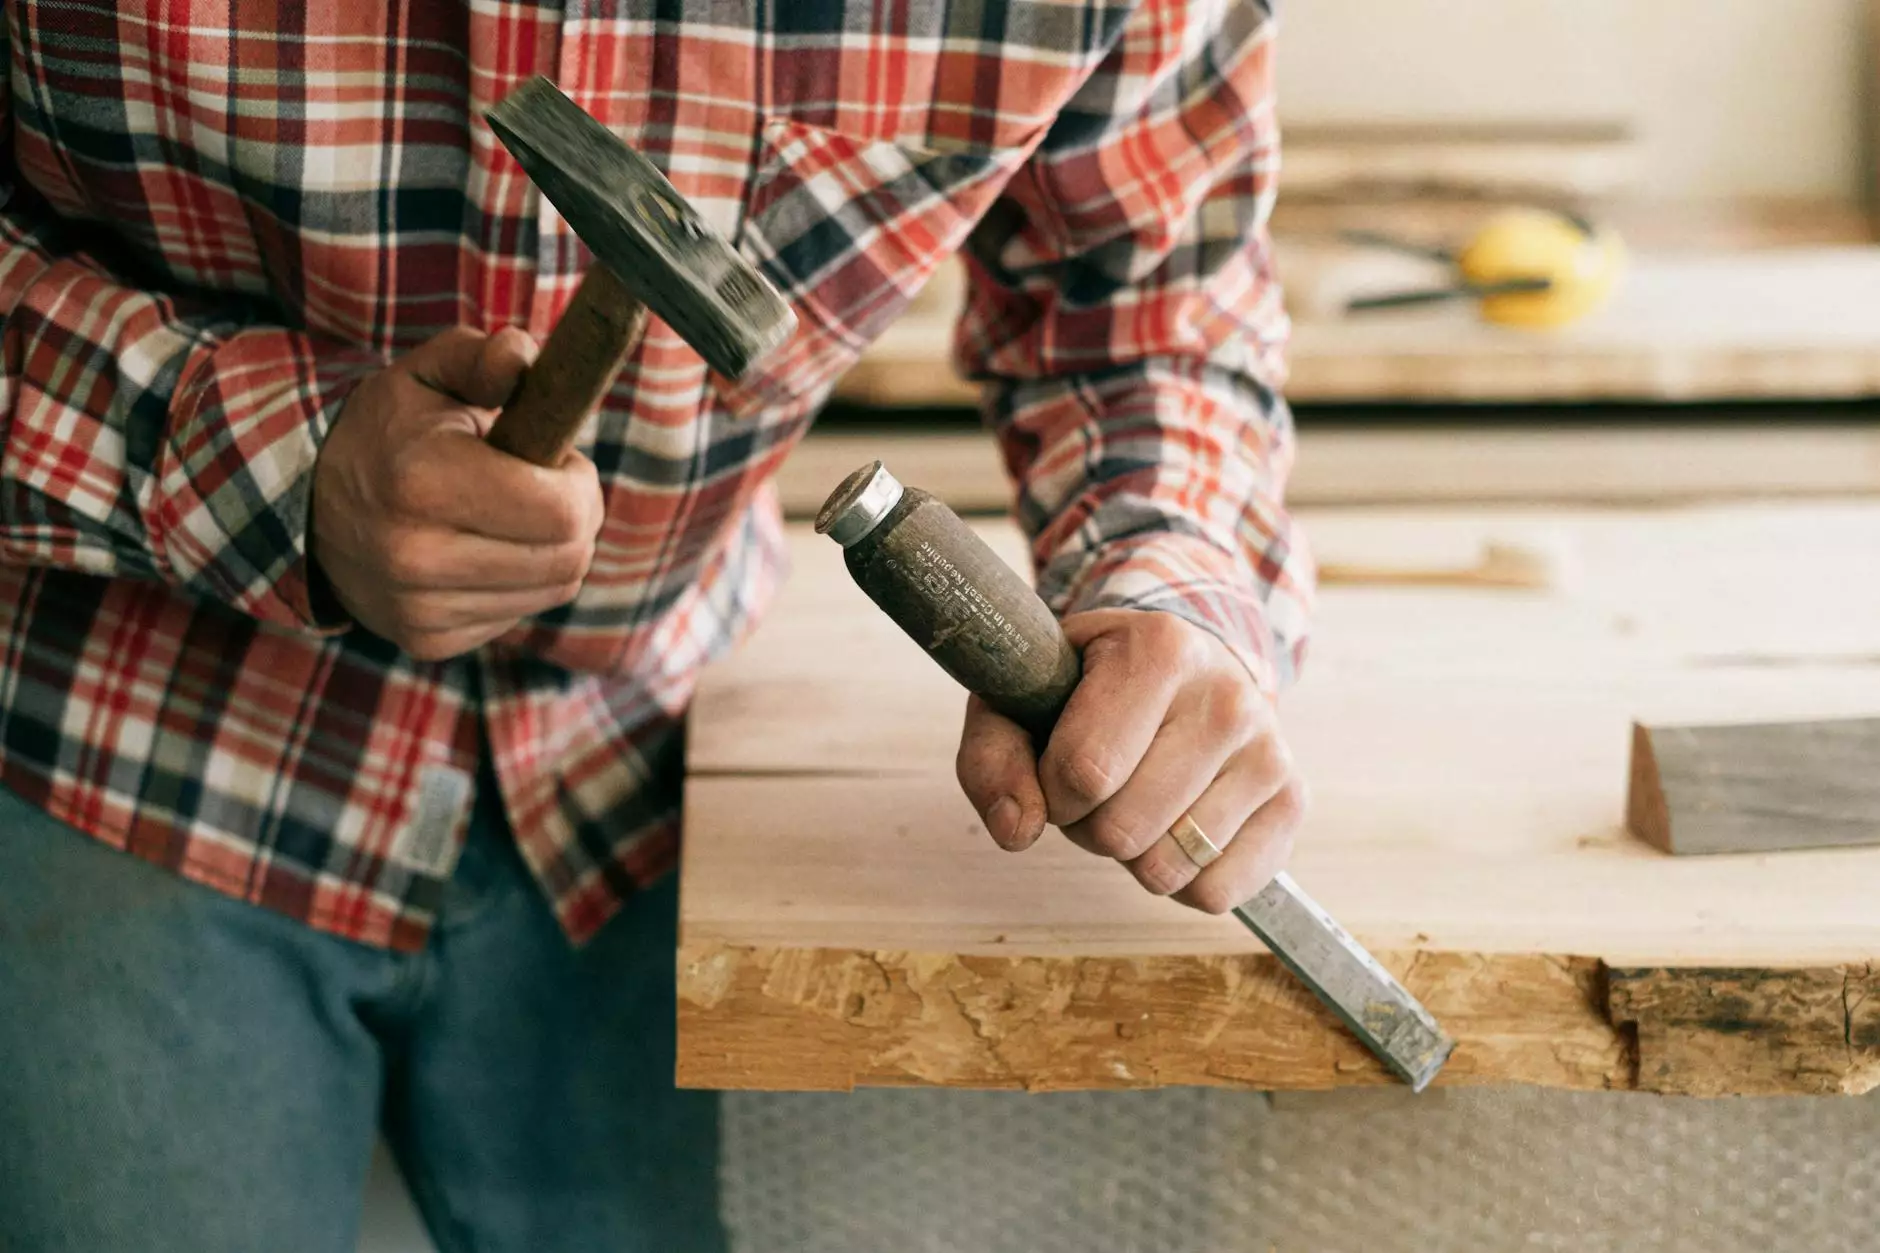
5.2. Removing Old Tiles
This often involves using a chisel and hammer or a power tool to carefully break away the old tiles.
5.3. Surface Preparation
Your pool surface must be smooth and clean. Consider applying a leveling compound if necessary, to create an even base for your new tiles.
5.4. Installing New Tiles
Begin laying out your new tiles from the center of the pool to ensure symmetry. Use the recommended adhesive and allow for proper drying time.
5.5. Grouting
Once the tiles are set, apply grout between them. This helps to seal the tiles and protect against water damage.
5.6. Finishing Touches
After the grout has cured, clean the surface and apply any necessary sealants to protect your new tiles from the elements.
6. Maintenance Tips for Your Newly Tiled Pool
To ensure your newly replaced tiles maintain their beauty and functionality, consider the following maintenance tips:
- Regular Cleaning: Keep the tiles clean by removing debris and preventing the buildup of algae and grime.
- Inspect Tiles Periodically: Check for any signs of wear or damage to catch issues early.
- Monitor Water Chemistry: Maintaining the right pH levels can contribute to the longevity of your tiles.
- Sealant Application: Reapply sealant as needed based on the type of tiles used to uphold their integrity.
7. Conclusion
In summary, pool tile replacement is a transformative process that can revive your swimming pool and enhance your outdoor space. Whether you choose to tackle the project on your own or enlist the help of professionals, understanding the steps involved and the importance of quality materials will lead to a successful renovation. By keeping your pool in optimal condition, you're not only ensuring aesthetic appeal but also maximizing safety and longevity. Visit poolrenovation.com to learn more about our services and how we can help make your pool dreams a reality!